 Snohomish
 Building New in Woodinville: What Your Windows Need to Handle
If you're framing a new home in Woodinville, the windows you choose and how they're installed will matter more over the next twenty years than almost any other exterior decision you make. This part of western Washington sees long stretches of driving, wind-blown rain, damp air that lingers under tree cover for months, and a moss season that can run from fall through spring. None of that is a problem for a window that's specified and installed correctly the first time. It becomes a serious problem when a window is set into a rough opening without proper flashing, sealed with caulk instead of a real moisture barrier, or picked for looks without regard to how it performs wet.
New construction gives you an advantage that a remodel never will: the wall cavity is open, the sheathing is exposed, and there's no old trim or siding to work around. Done right, a new-construction window installation on a Woodinville build should be nearly maintenance-free for its warranty life. Done wrong, you're looking at rot in the framing, staining on the siding below the sill, and a callback within a few winters.
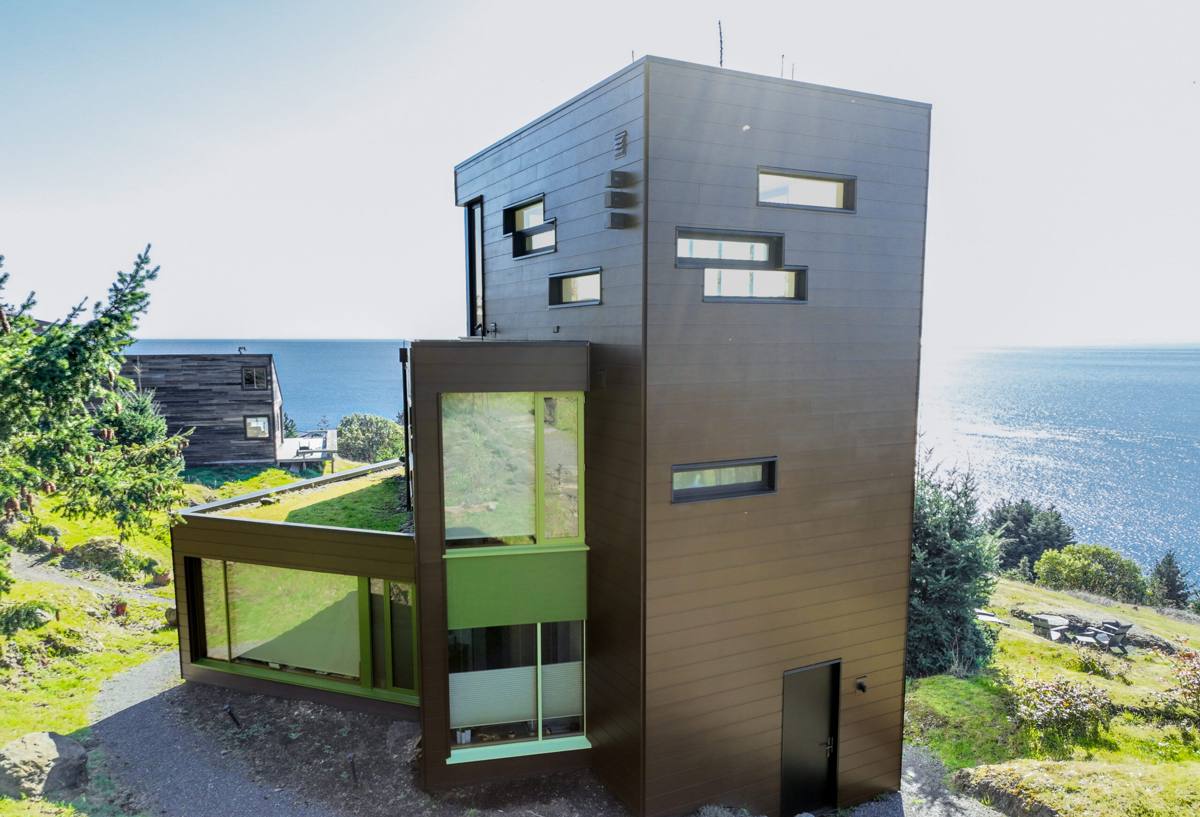
Why New-Construction Windows Are a Different Job Than Replacements
New-construction windows come with a nailing fin — a flange around the perimeter of the frame that gets fastened directly to the sheathing before the weather-resistive barrier and siding go on. That fin is what ties the window into the building's drainage plane. Replacement windows, by contrast, are usually pocket units that get inserted into an existing frame with no fin at all, because the surrounding wall is already finished.
This distinction matters because it changes the entire sequence of the job. On a new build, the window has to be integrated with the house wrap, the flashing tape, and the siding underlayment in a specific order — before there's any siding to protect it. Get that sequence wrong on a new-construction opening and you don't get a second chance without tearing back finished wall assembly. It's a one-shot installation, which is exactly why the crew doing it needs to know the sequence cold, not learn it on your house.
What "Correct" Actually Means Here
A correctly installed new-construction window in this climate has, at minimum:
- A sloped sill pan under the window opening so any water that gets past the frame drains outward, not into the framing
- Flashing tape at the jambs and head, lapped in the right shingle-style order so water sheds down and out, never sideways into a seam
- A continuous bead of sealant behind the nailing fin, not just around the visible trim
- House wrap integrated over the top flange and under the side flanges — the order most missed by inexperienced crews
- Proper shimming so the frame isn't racked or bowed, which stresses seals and causes uneven operation over time
Choosing the Right Window for a Wet, Tree-Covered Lot
Woodinville lots often sit close to mature trees, which means more shade, more standing moisture on siding and trim, and a longer moss season on north-facing walls. That doesn't change the window itself so much as it raises the stakes on frame material and finish durability. Here's how the common options compare for this kind of site:
| Frame Material | Moisture Behavior | Maintenance | Typical Fit for Woodinville New Builds |
|---|---|---|---|
| Vinyl | Won't rot, handles constant damp well | Low — occasional wash-down | Strong default for most new builds; good value and reliable seals |
| Fiberglass | Excellent — very stable in wet, humid conditions | Low | Good upgrade for larger openings or higher-end finish packages |
| Wood (unclad interior/exterior) | Needs consistent finish maintenance to stay ahead of moisture | High — repainting or refinishing on a schedule | Best reserved for covered elevations or interiors only, given the region's rain load |
| Wood-clad (wood interior, aluminum or vinyl exterior) | Exterior handles rain well; interior still needs some care | Moderate | Popular where owners want a wood look inside without full exterior maintenance |
| Aluminum | Durable but prone to condensation without a thermal break | Moderate | Only recommended with a proper thermal break in this climate |
We don't push one brand or material on every job. What we do insist on is a window with a documented, tested nailing-fin installation method and a warranty that actually covers water intrusion at the frame — not just glass seal failure. Plenty of attractive windows fall short on that second point, and it's the one that matters most here.
How the Installation Actually Goes, Step by Step
On a typical Woodinville new-construction job, our sequence looks like this:
- Rough opening check. We verify every opening is square, level, and sized correctly before a window ever shows up on site — catching framing errors now is far cheaper than after the wrap is on.
- Sill pan flashing. We install a sloped, back-dammed sill pan so any incidental water drains out over the siding, not into the wall.
- House wrap sequencing. Wrap goes on in the correct shingle-lap order relative to the window flanges — this single step is where we see the most call-backs from other crews' work.
- Window set and fastening. The unit is set, shimmed square and plumb, and fastened through the nailing fin per the manufacturer's pattern — not "close enough."
- Flashing tape at jambs and head. Taped in the correct lap order to shed water down and away from every seam.
- Interior and exterior seal. Backer rod and sealant where required, insulation at the shim gaps so there's no thermal bridge or air leak.
- Final check. Operation, seal, and squareness verified before siding closes in around the opening.
Every one of these steps is invisible once the siding goes up. That's exactly why it has to be done right the first time — there's no cosmetic fix for a bad sill pan once the wall is finished.
Mistakes We See on New Builds in This Area
Most window failures we get called to diagnose on newer Woodinville homes trace back to one of a handful of shortcuts:
- House wrap taped over the nailing fin instead of lapped correctly under it, which traps water at the sill
- No sill pan, or a flat one with no slope to drain water back out
- Caulk used as the primary water barrier instead of flashing tape — caulk is a backup, not a system
- Windows fastened without shimming, leaving frames racked and seals under constant stress
- Moss and organic debris allowed to build up in sills and tracks because north-facing, shaded elevations were never accounted for in the drainage detail
Every one of these is preventable at install time and expensive to fix afterward, usually requiring siding removal to get back to the opening.
What Drives Cost on a New-Construction Window Package
Pricing on new-construction windows depends on more than the unit itself. The main factors we walk through with homeowners are:
| Factor | Why It Matters |
|---|---|
| Frame material | Vinyl is typically the most economical; fiberglass and wood-clad run higher |
| Glass package | Low-E coatings and gas fills add cost but reduce condensation and energy loss in our climate |
| Opening size and count | Larger openings and higher window counts increase both material and labor |
| Elevation exposure | West- and north-facing openings exposed to weather or shade may warrant upgraded flashing details |
| Site access and framing stage | Coordinating install timing with your framer and siding crew affects labor efficiency |
We give straightforward, itemized numbers rather than a single lump figure, so you can see exactly where the budget is going and where there's room to adjust without compromising the water management details.
Why Working With a Crew Already Familiar With Woodinville Matters
Woodinville sits in a part of the Puget Sound region where damp, shaded conditions and a long wet season are the norm, not the exception. A crew that installs windows across a range of climates might get the basics right and still miss the detailing this area rewards — extra attention to sill pan slope, flashing lap order on shaded elevations, and material choices that hold up under a moss season rather than just a rainy week. We work new builds in and around Snohomish County regularly, which means we're not guessing at how a given frame material or flashing detail performs here — we've seen it after a few winters.
That local track record also means we coordinate more smoothly with the other trades on your job — framers, siding installers, and general contractors we've worked alongside before know how we sequence a window install, which keeps your build on schedule instead of waiting on rework.
Get a Straightforward Estimate
If you're framing a new home in Woodinville and want windows installed the way this climate actually requires, we're happy to walk your plans and give you a clear, no-pressure estimate. Fill out the form below and we'll follow up to talk through your opening sizes, frame options, and timeline.