 Snohomish
 Why Mill Creek Homes Wear Out Siding Differently
Mill Creek sits in the same wet, mild, moss-friendly climate belt as the rest of Snohomish County — heavy tree cover, long stretches of low sun angle in fall and winter, and rain that doesn't fall hard so much as it just doesn't stop. Add proximity to Puget Sound's moisture-laden air and you get a specific combination of stresses on exterior walls: siding that stays damp longer than it should, paint film that breaks down faster in shaded, north- and west-facing walls, and moss and algae that colonize any surface holding moisture for more than a day or two at a time.
None of that is dramatic on its own. The problem is cumulative. A wall that dries out slowly, season after season, eventually lets water past the surface and into the sheathing behind it — and that's when a siding problem becomes a structural one. Replacement done right in this area isn't just about swapping old panels for new ones; it's about correcting the moisture path so the new siding actually gets to dry out between rain events.
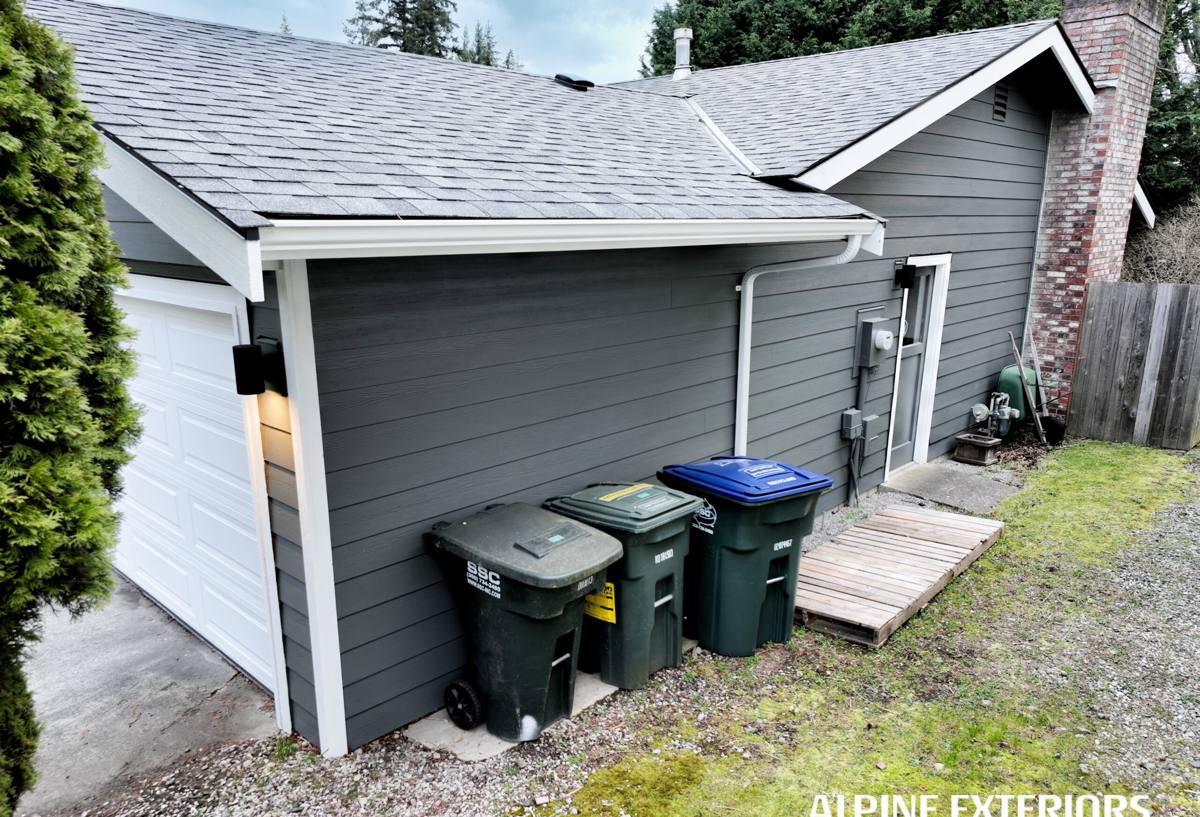
What's Usually Behind the Wall When We Tear Off
On siding replacement jobs in and around Mill Creek, a few patterns show up often enough to plan for:
- Moss and algae staining concentrated on shaded elevations and under roof overhangs where airflow is limited
- Soft or delaminating sheathing near ground level, deck ledgers, and window sills — the spots where water collects and lingers
- Failed or missing kick-out flashing where roof lines meet walls, letting roof runoff wash directly down the siding face
- Older caulk-dependent trim details that were watertight when new but have since cracked and opened seams
- Vinyl or older engineered wood siding that's cupped, buckled, or lost its factory finish faster than expected for its age
None of these are unusual for the region — they're just what long-term exposure to a wet, shaded climate does to a wall system over 15-25 years. The point of a proper tear-off is to find and fix them before they get sealed behind new siding for another two decades.
What a Correct Siding Replacement Actually Involves
A siding replacement is not a cosmetic swap. Done to spec, it's a full rebuild of the wall's weather barrier system, with the visible siding as the last layer, not the only one that matters.
Tear-off and inspection
Old siding comes off in sections so the crew can see the sheathing underneath before deciding what's reusable. Any soft, stained, or delaminated sheathing gets cut out and replaced — patching over damaged sheathing just relocates the problem to the next reroof or resale inspection.
Weather-resistive barrier and flashing
A new, correctly lapped weather-resistive barrier goes on next, with flashing integrated at every penetration — windows, doors, hose bibs, light fixtures, deck ledgers, and any roof-to-wall intersection. This is the layer that actually keeps bulk water out; the siding on top of it is the second line of defense, not the first.
Drainage plane
Given how much of the year Mill Creek walls spend damp, a drainage gap (rainscreen) behind the siding is worth the extra step. It gives any moisture that does get past the surface a path to drain and air to move, instead of trapping it against the sheathing where it slowly does damage.
Fastening and installation to manufacturer spec
Fiber cement siding has documented fastening patterns, clearances, and gap requirements for a reason — get them wrong and you create the exact moisture traps the material is otherwise resistant to. Correct nailing schedule, proper clearance from grade and roof lines, and factory-mitered or properly caulked joints all matter more here than in a drier climate, because there's less margin for error before trapped moisture becomes a real problem.
Why We Only Install James Hardie
We standardized on James Hardie fiber cement siding for every job we do, including replacements in Mill Creek, and we're upfront about why. It's non-combustible, which matters more each year as wildfire smoke and ember exposure become a bigger part of Pacific Northwest summers. It's engineered in climate-specific HZ product lines rather than a one-size-fits-all formula, and the HZ5 line is built for exactly the wet, moderate climate this region sits in. The ColorPlus factory finish is baked on under controlled conditions, so it holds color and resists the fading and chalking that field-applied paint struggles with on shaded, damp walls. And it carries a strong, transferable manufacturer warranty on both the substrate and the finish — worth something when you're planning to be in the house, or sell it, ten or twenty years from now.
We don't install LP SmartSide, vinyl, Cemplank, Allura, or bare wood siding. Each has a legitimate place in the market, but none of them held up to our standard for this specific climate and the way we want our work to age. That's a decision about our own installation standard, not a verdict on every homeowner's situation — but it's why our trucks only carry one product.
Our Replacement Process
| Step | What Happens | Why It Matters Here |
|---|---|---|
| Assessment | Walk the exterior, check moisture-prone zones, review existing siding and trim condition | Identifies hidden damage before it's priced or scheduled |
| Scope and estimate | Written scope covering tear-off, sheathing allowance, flashing details, and siding line/color | No surprise change orders once walls are opened |
| Tear-off | Remove old siding and trim, inspect sheathing, cut out and replace anything compromised | Catches damage caused by years of damp exposure |
| Weather barrier and flashing | Install new WRB, integrate flashing at every penetration and transition | This layer does the real work of keeping water out |
| Drainage plane | Install rainscreen/furring where called for by the wall assembly | Gives incidental moisture somewhere to go instead of sitting |
| Hardie installation | Install siding and trim to manufacturer fastening and clearance specs | Correct install is what makes the warranty and the performance real |
| Final walkthrough | Review with homeowner, confirm caulking, touch-up, and cleanup | Nothing left half-finished at the details that actually leak |
What Drives Cost on a Mill Creek Replacement
We don't quote broad numbers without seeing the walls, but the factors that move a Mill Creek estimate up or down are consistent:
| Factor | Why It Matters |
|---|---|
| Sheathing condition | Rot found during tear-off has to be cut out and replaced before new siding can go on |
| Wall complexity | Dormers, multiple roof lines, and lots of trim detail take more labor per square foot than a simple rectangular wall |
| Current siding type | Vinyl and lap wood tear off differently than stucco or brick veneer, affecting labor time |
| Home size and story count | Multi-story homes need more staging, scaffolding, and safety setup |
| Siding line and profile chosen | Lap width, shingle-style panels, and trim board selections all price differently |
| Existing flashing and moisture issues | Correcting years of deferred flashing problems adds scope beyond a straight material swap |
Why Hiring a Crew That Already Works Mill Creek Matters
A siding crew that works this specific pocket of Snohomish County regularly has already seen how these particular homes age — which elevations moss up first, which builders' original flashing details tend to fail, and what wall assemblies show up most often in the neighborhoods here. That's not something a crew coming in from outside the area brings on day one. It also means we're familiar with local permitting requirements and inspection expectations, so scheduling isn't slowed down by a learning curve on paperwork.
Just as important: a local crew has a reputation to protect in a market where word travels between neighbors. That's a real incentive to do the flashing and drainage details right the first time, not just make the wall look finished for the walkthrough.
Signs Your Mill Creek Home May Need Replacement, Not Repair
- Persistent moss or algae growth that returns within weeks of cleaning
- Siding that's soft, spongy, or visibly bowed when pressed
- Paint that's peeling or blistering rather than just fading
- Visible gaps or cracking at seams, corners, and trim joints
- Warping or cupping panels, especially on shaded or north-facing walls
- A musty smell or visible staining on interior walls that share an exterior wall
- Siding original to a home built more than two decades ago, nearing or past its expected service life
Any one of these can sometimes be spot-repaired. Several together, especially combined with soft sheathing found during a closer inspection, usually means full replacement is the more honest recommendation — patching a wall that's already failing behind the surface just delays the same job at a higher cost later.
Maintaining Hardie Siding Through Mill Creek's Moss Season
One advantage of ColorPlus-finished Hardie siding in this climate is how little upkeep it actually needs compared to what most homeowners are used to. There's no repainting cycle to manage, and the fiber cement itself doesn't feed moss growth the way untreated wood can. That said, a couple of simple habits keep it looking its best through the wetter months: a gentle rinse to clear moss and organic buildup before it has a chance to stain, and keeping nearby vegetation trimmed back so shaded walls get more airflow and sun exposure. Neither is a big job, and neither is a substitute for correct installation — but together they keep the siding performing the way it's designed to for the long haul.
If your Mill Creek home's siding is showing its age, or you just want an honest read on whether repair or replacement is the right call, we're happy to take a look. The estimate is free, there's no pressure attached to it, and you'll get a straight answer either way — just fill out the form below to get started.