 Snohomish
 Siding Repair in Mill Creek: What Local Homes Are Up Against
Mill Creek sits close enough to Puget Sound and the Snohomish River lowlands that homes here deal with a specific combination of stress on their exterior: salt-tinged air moving in off the water, long stretches of driving rain through fall and winter, and shaded, tree-lined lots that stay damp well after a storm passes. That last part matters more than most homeowners realize. A north-facing wall tucked under mature evergreens can hold moisture for days, and moss doesn't need much encouragement to take hold on a siding surface that never fully dries out.
None of that is unusual for this part of Snohomish County — it's just the climate. But it means siding repair here isn't only about fixing what's visibly cracked or missing. It's about understanding why a section failed in the first place, because the same conditions that caused the original damage are still sitting on that wall waiting to cause it again if the repair doesn't address the root cause.
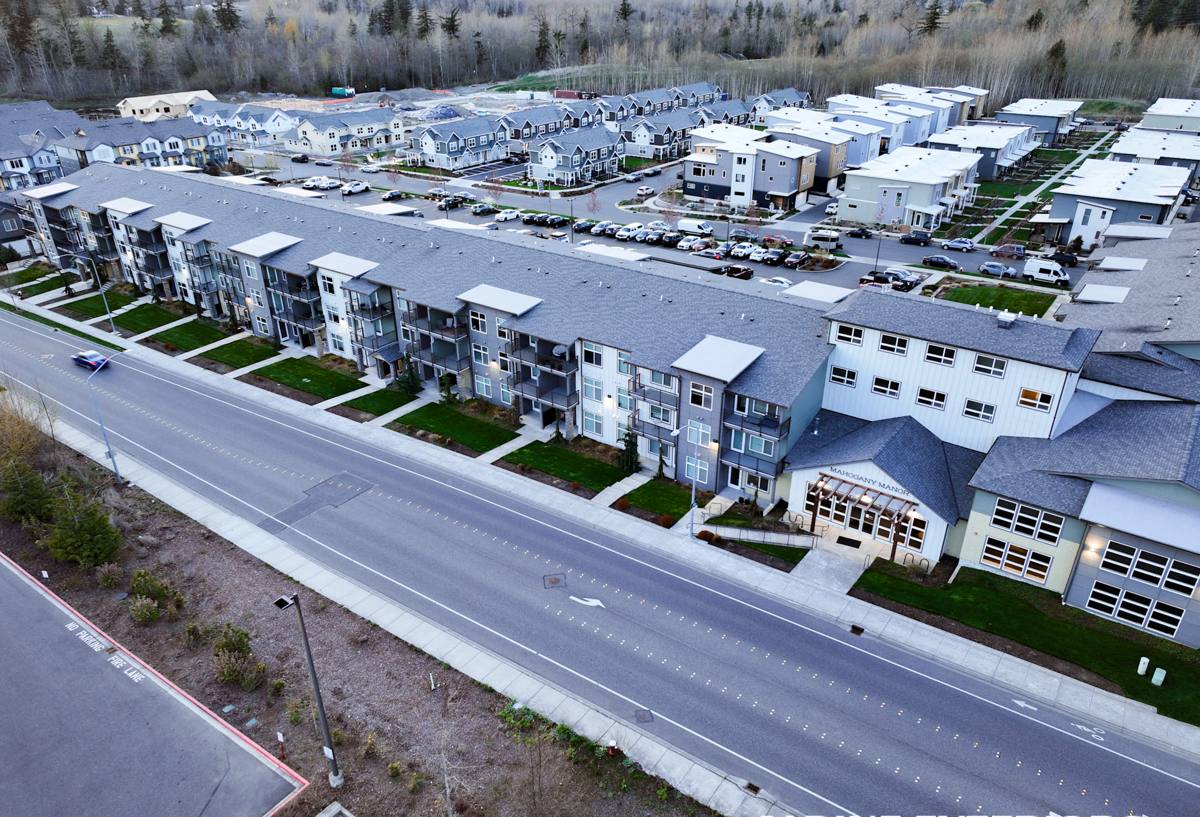
Signs Your Mill Creek Home Needs Siding Repair
Some damage is obvious. Some isn't, and the hidden kind is usually the more expensive kind if it sits unaddressed through another wet season. Worth checking for:
- Soft or spongy spots when you press on the siding, especially near the bottom courses or around window trim
- Visible cracking, warping, or buckling panels, particularly on walls that get the most weather exposure
- Persistent moss or algae growth that comes back within weeks of cleaning
- Staining or streaking below seams, nail heads, or trim joints — a sign water is finding a path behind the surface
- Gaps that have opened up at butt joints, corners, or where siding meets window and door trim
- Peeling or bubbling paint, which on fiber cement often points to moisture trapped underneath rather than a simple paint failure
- Interior clues: musty smell, discolored drywall, or a slightly damp feel near an exterior wall
Any one of these is worth a look. Several at once, especially on the same wall, usually means water has been getting behind the siding for a while.
What a Correct Siding Repair Actually Involves
A repair that's done right is more than swapping a broken board and running a bead of caulk. Caulk covers a symptom; it doesn't tell you whether the sheathing behind it is still sound or whether the flashing above a window is doing its job. Here's what should actually happen:
Find the water path, not just the damage
Before anything gets replaced, we trace how water got in. That might mean pulling a section of siding to check the house wrap and flashing, checking a window's drip cap, or looking at how a deck ledger or porch roof ties into the wall. Replacing a board without fixing the entry point just buys a year or two before the same spot fails again.
Check what's behind the siding
We use a moisture meter on suspect areas rather than guessing from the outside. Sheathing that's saturated or starting to rot needs to be addressed before new siding goes back on — covering wet wood with a new panel doesn't stop the rot, it just hides it again.
Match the material, not just the color
On a Hardie-sided home, a proper repair uses the same profile, exposure, and factory finish so the patched section reads as part of the wall, not a visible add-on. On homes where the existing siding is a different material entirely, we're honest about what a patch can and can't achieve — matched color from an old batch is rarely a perfect match, and that's worth knowing before we start rather than after.
Seal and flash it properly
Correct flashing details, house wrap integration, and sealant placement at penetrations matter more than the siding itself in a wet climate like this one. A repair without proper flashing is a repair that's scheduled to fail again.
Repair vs. Replace: How We Decide
Not every damaged section needs a full re-side, and not every "repair" is actually worth doing. We walk homeowners through the tradeoffs honestly rather than defaulting to whichever job is bigger.
| Situation | Usually Repair | Usually Replace |
|---|---|---|
| Damage location | Isolated to one or two sections/walls | Spread across multiple walls or the whole home |
| Underlying sheathing | Dry and structurally sound | Soft, rotted, or moisture-damaged in multiple spots |
| Siding material | Hardie fiber cement in good general condition | Aging vinyl, LP, or cedar showing repeated failure |
| Age of existing siding | Well within its expected service life | Near or past the material's realistic lifespan |
| Recurrence | First time this wall has had an issue | Same wall or area has failed before |
When repair is the right call, we do the repair — we're not trying to upsell a full re-side onto a homeowner who doesn't need one. When the pattern points to a system that's reached the end of its useful life, we say so, and we explain why.
Our Siding Repair Process
- Inspection. We look at the visible damage, the surrounding siding, trim, flashing, and any interior signs of moisture intrusion.
- Moisture check. Meter readings on suspect sections tell us whether we're dealing with a surface issue or something that's gone deeper into the wall assembly.
- Honest assessment. We tell you what we found, what it means, and whether repair or replacement is the smarter long-term move — with the reasoning, not just a recommendation.
- Written scope and estimate. No verbal-only quotes. You get a clear description of the work and materials before anything starts.
- The repair itself. Damaged material removed, sheathing addressed if needed, flashing and house wrap corrected, new siding matched and installed to manufacturer specification.
- Final check. We confirm the repaired area sheds water correctly and blends into the surrounding wall.
Why We Only Work With James Hardie Fiber Cement
When a repair calls for new siding material — whether it's a patch on an existing Hardie wall or a homeowner deciding to replace a failing section with something better — we install James Hardie fiber cement and nothing else. It's non-combustible, engineered for wet climates like this one, and holds its ColorPlus factory finish far longer than field-painted alternatives, which matters when you're trying to match a repair into an existing wall years later. We don't install vinyl, LP SmartSide, or other fiber cement brands. That's a standard we hold to on every job, not a sales pitch we make to every customer — it's simply what we've found holds up and repairs cleanly over the long run in this climate.
Why a Crew That Already Works Mill Creek Matters
Siding repair isn't generic work. A crew that's already spent time on homes in this part of Snohomish County knows which wall orientations take the worst weather, how moss behaves on shaded lots here versus a drier climate, and what kind of flashing details actually hold up through a wet Pacific Northwest winter. That familiarity shows up in small decisions — where to add extra flashing that wasn't in the original build, which sealants actually cure properly in cooler, damp conditions, how tight to run a repair schedule around the rainy season. A contractor unfamiliar with the area is guessing at some of that. A local crew isn't.
Cost Factors in Siding Repair
Repair costs vary a lot based on scope, so we don't quote broad numbers without seeing the damage. What actually drives the price:
| Factor | Why It Matters |
|---|---|
| Size and location of damage | A single accessible section costs far less than damage spread across multiple stories or hard-to-reach walls |
| Sheathing condition | Rotted sheathing behind the siding adds carpentry work beyond the siding itself |
| Material match | Matching an existing Hardie profile and finish is more straightforward than patching an older or discontinued product |
| Access | Second-story sections, tight side yards, or areas requiring staging add labor time |
| Root cause work | Correcting flashing or drainage issues behind the wall is what makes the repair last — and it's not optional |
Maintaining Your Siding After a Repair
A good repair should hold for years, but a little upkeep keeps it that way — especially in a climate that gives moss every opportunity it needs:
- Rinse siding annually to keep moss and algae from establishing, particularly on shaded or north-facing walls
- Keep gutters clear so overflow doesn't run down the siding face
- Trim back vegetation that keeps a wall shaded and damp longer than it needs to be
- Recaulk trim joints and penetrations as they age — sealant has a shorter service life than the siding itself
- Walk the exterior once or twice a year and check the same trouble spots: butt joints, corners, and areas below windows
If you're seeing damage, moss you can't keep ahead of, or a section of siding that just doesn't look right anymore, we're glad to take a look and give you a straight answer — repair, replace, or leave it alone. Reach out for a free, no-pressure estimate using the form below.