 Snohomish
 Siding Installation in Lake Stevens
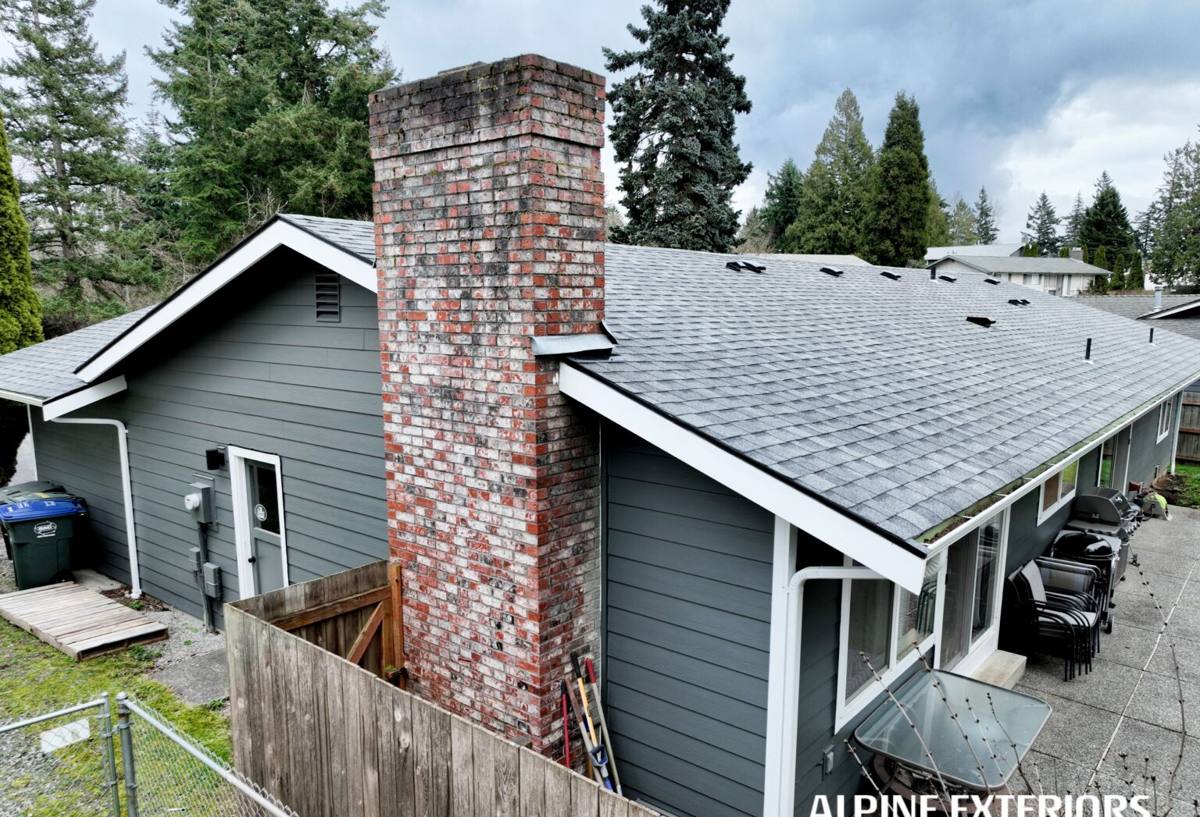
Lake Stevens homes sit close to open water and thick tree cover, which means siding here works harder than it does in a lot of neighboring towns. Between the lake-effect humidity, the driving rain that comes through Snohomish County most winters, and a moss season that can stretch from October through April, the exterior of a house is under near-constant moisture pressure for more than half the year. Siding installation in this area isn't just about appearance — it's about choosing a material and installation method that can actually shed water, resist rot, and stand up to the freeze-thaw cycles that hit the region a handful of times each winter.
We install James Hardie fiber cement siding exclusively. That's not a marketing angle — it's a decision we made after years of doing tear-offs on homes where the wrong product, or a rushed install of the right product, let moisture in behind the wall. This page covers what Lake Stevens homes specifically need from a siding job, what correct installation looks like, and how we run the process from estimate to final walk-through.
What Lake Stevens' Climate Does to Siding
Moisture load
Lake Stevens gets the same wet Pacific Northwest weather as the rest of Snohomish County, but proximity to the lake adds extra ambient humidity, especially in low-lying areas and yards with mature tree cover. Siding that isn't properly flashed, gapped, or finished will hold moisture against the wall sheathing far longer here than it would in a drier climate. Over a few seasons, that's how you get soft trim, stained fascia, and siding that swells or delaminates from the inside out.
Moss and organic growth
Shaded lots near the lake and along tree-lined streets stay damp for extended stretches, which is exactly what moss, algae, and mildew need to take hold. Siding with a porous surface or a factory finish that isn't built to resist mildew will show green and black staining within a couple of years, and once organic growth gets a foothold in seams or laps, it holds moisture against the material and accelerates whatever damage is already happening underneath.
Driving rain and wind-driven exposure
Storms coming off the water can push rain sideways into walls rather than straight down, which stresses horizontal laps, butt joints, and any spot where two pieces of siding meet. A correct install accounts for this with proper lap spacing, sealed joints where required, and flashing details that give water a way out instead of a place to collect.
Why We Only Install James Hardie
We don't install vinyl, LP SmartSide, primed wood, cedar, or other fiber cement brands. That's a standard, not a limitation we apologize for. Fiber cement as a category outperforms vinyl and wood in this climate because it doesn't warp, doesn't feed insects, and doesn't absorb water the way wood-based products can. Within fiber cement, we chose James Hardie specifically for three reasons that matter in a lake-adjacent, moss-heavy climate like this one:
- HZ5 engineering: Hardie's HZ5 product line is engineered for climates with freeze-thaw cycles and heavy moisture exposure — which describes most winters here.
- ColorPlus factory finish: a baked-on finish that resists fading and mildew staining far better than field-applied paint, which matters when a house sits in shade for months at a time.
- Track record and warranty structure: Hardie has decades of installed history in the Pacific Northwest specifically, plus a transferable warranty that holds up when the home changes hands.
We go into more detail on why we've moved away from other products on our other pages — this page is about what correct Hardie installation looks like on a Lake Stevens house specifically.
What a Correct Installation Involves
Water management comes first
Before a single piece of siding goes up, the wall needs a weather-resistive barrier installed correctly — lapped shingle-style so water is directed down and out, never trapped behind the cladding. Every window, door, and penetration gets flashed so water sheds away from the opening instead of pooling at the sill or head. This step is invisible once the job is done, which is exactly why it's the step that gets rushed on a lot of installs — and it's the step that determines whether the house stays dry for the next 30 years.
Fastening and clearances
Hardie siding has specific nailing patterns, fastener types, and minimum clearances from grade, roof lines, and decks that are laid out in the manufacturer's installation instructions. Skipping these — over-driving nails, fastening too close to panel edges, or leaving no gap at grade — is the single most common cause of premature failure we see when we tear off someone else's install, regardless of what product was used.
Joints, caulking, and finish
Butt joints get sealed or flashed per spec, not just caulked and hoped for. Cut edges get factory-matched touch-up paint so the ColorPlus finish stays uniform and protected at every cut. Left bare, a cut edge is the one spot on the house where the fiber cement core is exposed to moisture — a small detail, but it's the difference between a finish that lasts and one that starts staining at the seams within a few years.
Comparing installation approaches
| Install element | Rushed / low-bid approach | Correct approach for this climate |
|---|---|---|
| Weather barrier | Stapled on, seams not lapped correctly | Properly lapped and taped, integrated with flashing |
| Window/door flashing | Caulk only, no flashing tape | Flashed and sequenced so water sheds outward |
| Fastening | Nail gun set too hot, overdriven fasteners | Hand-set or gun set to manufacturer spec, no crushed fiber cement |
| Cut edges | Left raw or unpainted | Factory-matched touch-up paint on every cut edge |
| Clearance at grade/roof | Siding tight to grade or roofline | Manufacturer-specified gap maintained throughout |
Signs a Lake Stevens Home Needs New Siding
- Persistent moss or dark staining that comes back within months of cleaning
- Soft or spongy spots when you press on siding, especially near the bottom courses
- Paint that's bubbling, peeling, or won't hold regardless of prep
- Visible warping, buckling, or gaps opening up at laps and corners
- Musty smell or visible staining on interior walls that back up to exterior siding
- Siding that's original to a home built more than 20-25 years ago and has never been replaced
Any one of these on its own might just need a repair. Several at once, especially combined with a home's age, usually means the underlying water management has failed and a full replacement is the more honest recommendation.
Our Process for a Lake Stevens Siding Project
- On-site assessment: we look at the whole envelope — siding, trim, flashing, and any signs of existing moisture damage — not just the surface.
- Written estimate: a clear scope covering product line, color, and what the water management plan looks like for that specific house.
- Tear-off and inspection: once old siding comes off, we inspect the sheathing underneath. If there's rot or damage, we address it before anything new goes up — no covering up existing problems.
- Weather barrier and flashing installation: the part of the job that determines long-term performance, done to spec before siding starts.
- Hardie installation: fastened, gapped, and sealed to manufacturer specification for the HZ5 climate zone.
- Final walk-through: we go over the finished work with the homeowner and cover care and warranty registration.
Working With a Crew That Knows This Area
A siding crew that mostly works drier inland areas can still do competent work, but they may not default to the extra flashing details or clearance margins that a lake-adjacent, moss-prone property benefits from. Working regularly in Snohomish County means we're used to sequencing jobs around the wet season, know which parts of a Lake Stevens property are more shaded and moisture-prone before we even get there, and don't treat the region's rainfall as an edge case — it's just what every job here has to account for.
What Siding Installation Typically Involves Cost-Wise
| Factor | Why it affects cost |
|---|---|
| Home size and wall complexity | More corners, gables, and dormers mean more cutting, flashing, and labor time |
| Existing sheathing condition | Rot or water damage found at tear-off adds repair scope before siding can go on |
| Siding profile and trim package | Lap width, shake-style panels, and trim details vary in material and labor cost |
| Color | Standard ColorPlus colors versus custom field-painted options affect price |
| Access and site conditions | Steep lots, limited access, or extensive landscaping near the home can add labor time |
We don't quote a project without seeing the house — anyone who does is guessing, and on a home with real moisture exposure like the ones common around Lake Stevens, guessing is how homeowners end up with surprise costs mid-project.
Get an Estimate
If you're dealing with moss buildup, soft spots, failing paint, or siding that's simply reached the end of its service life, we're happy to come take a look. We'll give you a straight assessment of what's going on with your home's exterior, walk you through what correct Hardie installation would involve for your specific house, and provide a written estimate — no pressure, no upsell. Fill out the form below to get started.