 Snohomish
 New Construction Is a Different Job Than Replacement
When a builder or homeowner in Arlington calls us about windows, the first thing we ask is whether the wall is open or closed. New-construction windows go in before the siding, while the house wrap and framing are still exposed. That access is an advantage — it means the flashing, sill pan, and weather-resistive barrier can all be built correctly in the right order, instead of worked around later. But it also means there's no room for a shortcut to hide behind. On a replacement job, a poorly flashed window might stay dry for a few years because the old trim and cladding are still doing some of the work. On new construction, a mistake in the flashing sequence is baked into the wall assembly from day one.
We install new-construction windows on spec homes, custom builds, additions, and full-tear-down rebuilds around Arlington and the rest of Snohomish County. Because we're a siding crew first, we think about the window opening as part of the whole exterior envelope — not an isolated task that ends when the window is screwed in. That matters more here than in a lot of places, because of what the local climate does to a wall over time.
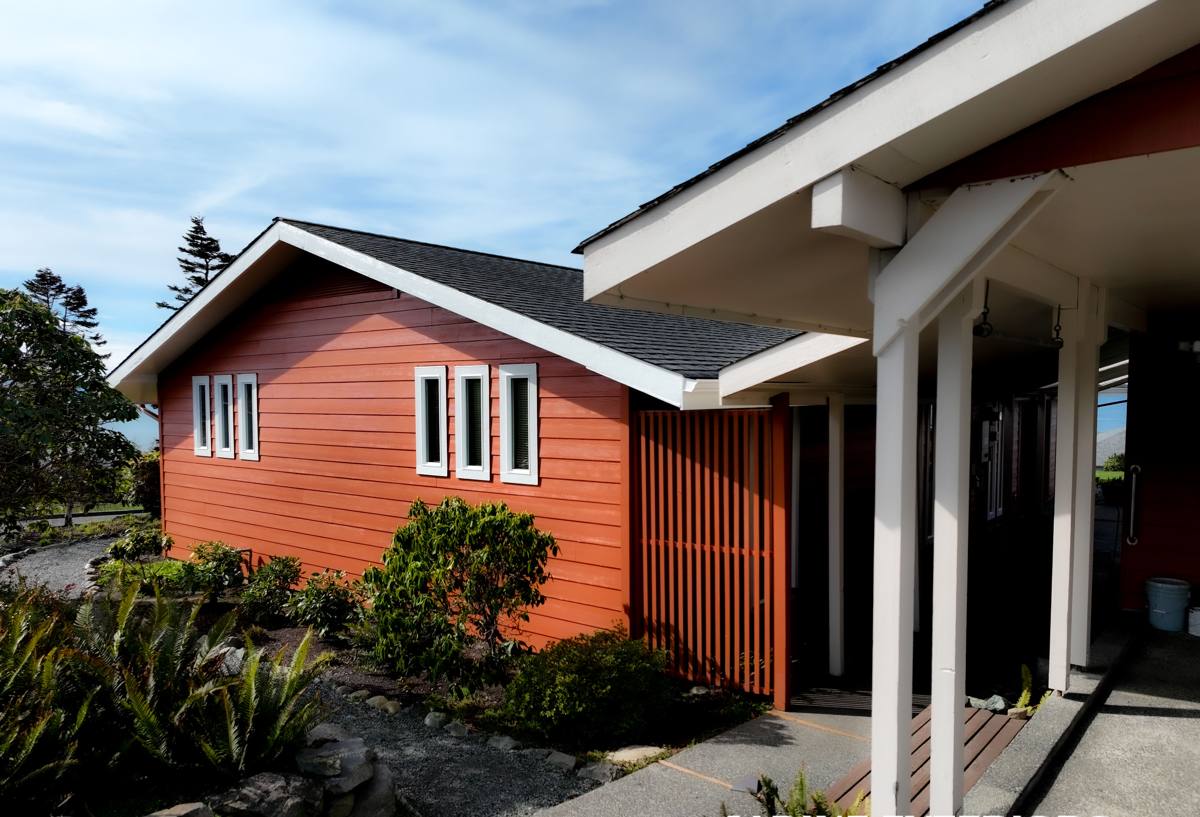
What Snohomish County's Climate Asks of a Window Install
Arlington sits close enough to Puget Sound and the Stillaguamish valley that homes deal with a mix of moisture stressors most inland builders never have to plan for. Salt-laden air off the Sound accelerates corrosion on exposed fasteners and lesser-grade hardware. Driving rain — wind-blown, not just falling straight down — pushes water sideways into any gap in the flashing plane, which is why vertical laps and proper shingle-style overlap at the head flashing aren't optional details, they're the difference between a dry wall cavity and a slow leak nobody notices for two years. And the long moss season, which for us really runs from fall through spring, keeps roof and wall surfaces damp for months at a stretch, which is exactly the environment that finds any weak point in a window's seal.
None of this means Arlington needs exotic materials. It means the ordinary steps have to be done in the correct order, every time, with materials rated for sustained moisture exposure rather than occasional exposure. That's a workmanship issue more than a product issue.
What This Looks Like in Practice
- Sill pans that direct any intruded water back out over the WRB, not into the framing
- Head flashing that laps over the housewrap above it — never tucked underneath
- Fasteners and flashing tape rated for long-term coastal moisture exposure, not builder-grade materials meant for drier climates
- Sealant placed only where it should trap water in, not on every seam by default
- Rough openings checked for square and level before the window ever goes in, since a racked opening stresses seals over time
New-Construction vs. Replacement Windows: Why the Distinction Matters
New-construction windows have a nailing flange built into the frame, designed to be fastened directly to the sheathing and integrated into the WRB before siding goes on. Replacement (or "pocket") windows are built without that flange, sized to slide into an existing opening with the old exterior trim left in place. Using the wrong type — or installing a flanged window as if it were a retrofit — is one of the more common errors we get called to fix on new builds where a crew rushed the schedule.
| Factor | New-Construction (Flanged) | Replacement (Pocket) |
|---|---|---|
| Best used for | New builds, additions, full wall tear-outs | Existing homes with intact, sound framing |
| Flashing integration | Built into the wall assembly, WRB laps over flange | Relies on existing trim and prior flashing |
| Access needed | Open stud wall, before siding | Interior/exterior access only, siding stays in place |
| Long-term moisture control | Strongest — full envelope integration | Good if the underlying flashing was sound to begin with |
| Typical use in Arlington builds | Nearly all new-construction and rebuild jobs | Rare, only for isolated repairs on existing walls |
For anything ground-up in Arlington, flanged new-construction windows are the right call almost every time. The question isn't which type to use — it's whether the flashing sequence around that flange gets done right.
How a Correct New-Construction Install Goes, Step by Step
We follow the same build order on every job because the sequence is what actually keeps water out — not any single product.
- Rough opening check. Confirm square, level, and correct dimensions before anything touches the opening. A window forced into an out-of-square opening will bind and never seal evenly.
- Sill pan flashing. A sloped or back-dammed pan goes in first, so any water that ever gets past the window sheds outward instead of pooling on the sill and soaking into the sheathing.
- Jamb flashing. Side flashing goes on next, lapping over the sill pan's upturned edges.
- Window set and fastened. The window goes in plumb and level, shimmed correctly, and fastened through the nailing flange per the manufacturer's schedule — not just at the corners.
- Head flashing. Installed last on the flashing sequence, lapping over the jamb flashing on both sides.
- WRB integration. The housewrap gets cut and taped so it laps over the head flashing and tucks behind the jamb flashing — water always moves down and out, never gets trapped behind a lap running the wrong way.
- Sealant, applied selectively. Interior air-sealing and select exterior joints get sealant; the bottom of the flange is typically left open so any water that does get in has somewhere to drain rather than being sealed inside the wall.
Skip a step, or do them out of order, and the window can look perfect from the outside while the wall behind it stays wet. That's the failure mode we get called out to diagnose most often — and it's almost never visible until siding or drywall comes off.
Choosing a Window Frame for Arlington's Exposure
Frame material matters less than installation quality, but it's still worth choosing with the local climate in mind. We don't push one brand over another — we install what fits the home's budget and design, and we're upfront about the trade-offs of each option.
| Frame Material | Moisture Behavior | Maintenance | Notes for Coastal/Rainy Climates |
|---|---|---|---|
| Vinyl | Won't rot; can expand/contract with temperature swings | Low — occasional cleaning | Solid, budget-friendly choice for most new builds here |
| Fiberglass | Very stable, minimal expansion/contraction | Low | Handles temperature and moisture cycling well; higher upfront cost |
| Wood-clad | Good if the cladding and seals stay intact | Higher — cladding seams need periodic inspection | We're candid that wood-clad frames need more attention in a wet, moss-prone climate; if a homeowner wants the look, we'll install it, but they should budget for upkeep |
| Aluminum | Durable but conducts heat/cold; can condense | Low | Less common on Arlington residential builds; better suited to commercial applications |
Whatever frame material a homeowner or builder chooses, the flashing and sequencing steps above don't change. That's where the actual protection comes from.
Our Process on Arlington New-Construction Jobs
Most of our new-construction window work in Arlington comes in one of two ways: a builder brings us in as the window and siding sub for the whole exterior envelope, or a homeowner building their own place calls us directly to coordinate with their general contractor. Either way, the process looks similar:
- We walk the framed structure before ordering, verifying rough openings against the window schedule and catching any framing discrepancies while they're still easy to fix
- We coordinate install timing with the WRB and siding schedule, since window flashing has to integrate with both
- We flash and set every window using the same sequence regardless of brand or size
- We document the flashing before it's covered by siding, so there's a record of what's behind the wall
- We stay in the loop through final siding and trim, since window flashing and siding water management are really one continuous system
Being a local Snohomish-based crew means we're not driving in from Seattle or Everett for a single service call — we're already working other jobs nearby, which keeps scheduling realistic and callbacks fast if a builder needs a punch-list item addressed.
Mistakes We See on New-Construction Jobs
Most of the problems we get asked to correct trace back to a handful of recurring issues, usually from crews working fast on a tight framing schedule:
- Head flashing tucked under the WRB instead of lapped over it, which funnels water behind the barrier instead of over it
- Sealant run around the entire flange, trapping any intruded water inside the wall instead of letting it drain
- Missing or improvised sill pans, relying on caulk alone to keep the sill dry
- Windows fastened before the opening was checked for square, leading to binding sashes and uneven seals within a year or two
- Flashing tape rated for general use rather than sustained wet-climate exposure
Every one of these is avoidable with the right sequence and materials — none of them require anything exotic, just doing the ordinary steps correctly and in order.
Why It Matters That We Already Work in Arlington
A crew that only occasionally works this part of Snohomish County can still install a window correctly, but a crew that works here regularly has already seen how these houses hold up through a full wet season — where water tends to find its way in on a poorly built wall, and which details matter most given the salt air and driving rain off the Sound. That's not a marketing point, it's practical: it means fewer surprises during the build and a better sense of what the local exposure actually demands versus what's overkill for the site.
If you're framing a new build or planning an addition in Arlington and want a window install done right the first time — flashed correctly, sequenced correctly, and coordinated with your siding — we're happy to take a look at the plans and walk the site. Reach out below for a free, no-pressure estimate.