 Snohomish
 New-Construction Windows in Mill Creek: What the Job Actually Involves
"New-construction windows" is a specific installation method, not just a window style. On a new build or a full re-side down to the studs, the window unit is installed with a nailing fin that gets fastened directly to the sheathing, then integrated into the house wrap and flashing system before siding goes on. This is different from a pocket or insert replacement, where an existing frame stays in place and a new window is set inside it. Getting the sequence right — house wrap, sill pan, window, flashing tape, drainage plane — matters more than the window brand itself, because that sequence is what keeps water out of the wall for the next 30-plus years.
For homes in and around Mill Creek, this window is usually installed alongside new siding, so the crew is already working the wall from bare sheathing. That's actually the best-case scenario for doing it correctly, and it's the main reason we push clients toward proper new-construction detailing whenever the wall is already open, rather than defaulting to a retrofit approach out of habit.
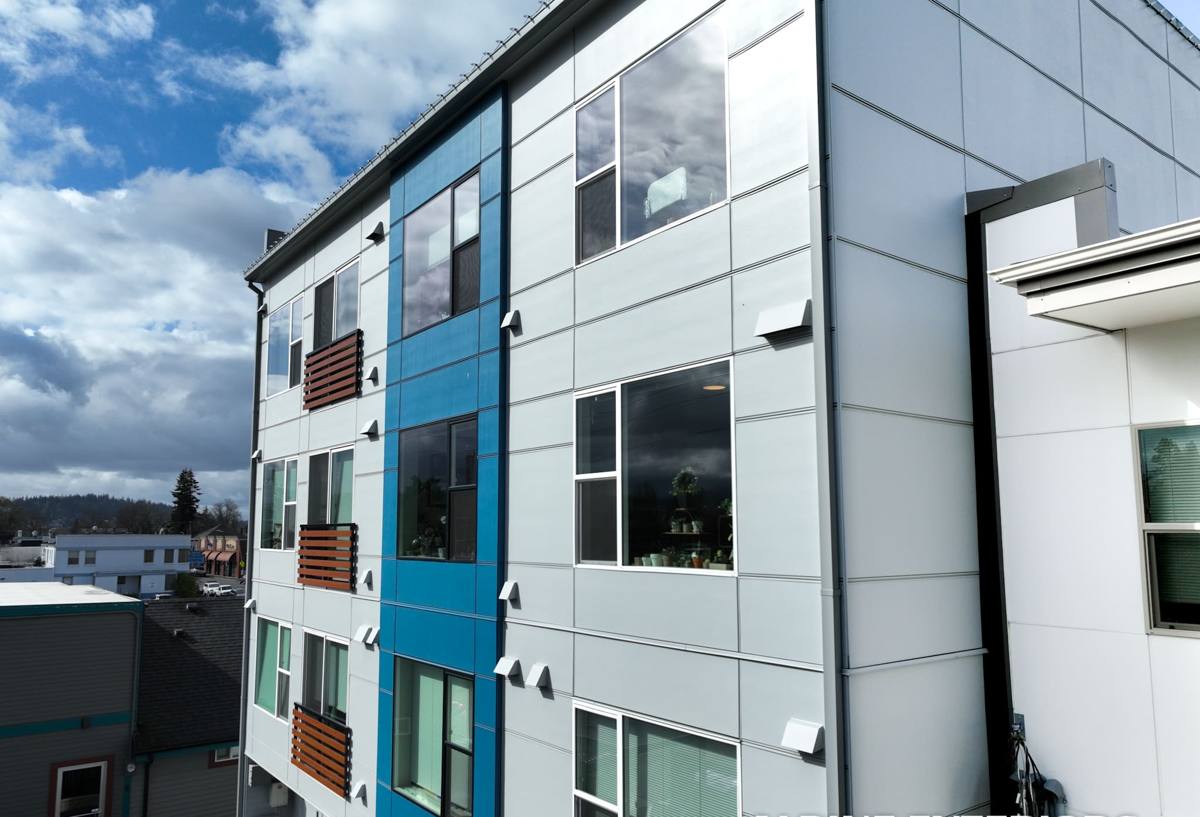
Why Snohomish-Area Weather Shapes the Right Window Choice
Snohomish sits in a stretch of Washington where driving, wind-blown rain is the norm for a good chunk of the year, and where a long, damp moss season keeps roofs, trim, and north-facing walls wet for extended stretches even between storms. Add proximity to salt air off Puget Sound, and you've got three separate stresses working on a window assembly at once: wind-driven water intrusion, sustained moisture exposure, and slow corrosion of unprotected metal fasteners and hardware.
None of that means you need an exotic window. It means the flashing detail, the sill pan, and the sealant joints have to be done right every time, because this climate does not forgive a shortcut the way a drier region might. A window that's slightly under-flashed in a dry climate might go a decade before anyone notices a problem. In this climate, the same mistake can show up as staining or soft sheathing in a couple of wet seasons.
- Wind-driven rain pushes water sideways and upward under trim and flanges, not just straight down
- Extended damp periods keep organic growth (moss, mildew) active on sills and trim longer than in drier regions
- Salt-influenced air accelerates corrosion on exposed fasteners, hinges, and unprotected aluminum
- Freeze-thaw cycles, while milder here than inland, still stress caulk joints and expansion gaps over time
New-Construction vs. Retrofit — Which Applies to Your Mill Creek Project
Homeowners often assume "new-construction window" only applies to a brand-new house. In practice, it applies to any project where the siding is coming off and the sheathing is exposed — which includes a lot of Mill Creek re-siding jobs, additions, and window-and-siding combo projects. If your siding is staying put and you're only swapping the window itself, a retrofit or insert unit is usually the right call, since removing siding just to switch installation methods rarely pencils out.
| Situation | Recommended Method | Why |
|---|---|---|
| New home build | New-construction, nailing fin | Sheathing and house wrap are fully accessible; best long-term seal |
| Full re-side project | New-construction, nailing fin | Wall is already open — no reason to settle for a retrofit method |
| Window replacement only, siding staying | Insert/pocket replacement | Avoids unnecessary siding removal and matching repairs |
| Rot or water damage found at existing window | New-construction (site-specific) | Damaged sheathing needs to be opened up and properly repaired anyway |
What a Correct New-Construction Install Includes
This is the part that separates a window that performs for decades from one that causes problems in a few years. Every one of these steps matters, and skipping any of them is how leaks start — often well after the crew that did the work is gone.
- Rough opening checked for square, level, and correct sizing before the window ever goes in
- Sloped sill pan installed so any water that gets past the window drains back out, not into the wall
- Window set plumb, level, and square, then fastened per the manufacturer's schedule — not just "close enough"
- Flashing tape applied in the correct shingle-lap order: sill, jambs, then head, so water always sheds downward and outward
- Integration with the house wrap so the window becomes part of one continuous drainage plane, not an isolated patch
- Backer rod and exterior sealant at the trim line, sized and tooled correctly rather than smeared on as an afterthought
- Interior air-sealing at the rough opening, which affects both energy performance and condensation risk
Window Types and Materials — What Fits Mill Creek Homes
We don't push a single brand or material as "the answer." Different framing materials come with real trade-offs in maintenance, moisture tolerance, and upfront cost, and the right pick depends on your home's style, budget, and how much upkeep you want to take on.
| Frame Material | Moisture Behavior | Maintenance | Typical Fit |
|---|---|---|---|
| Vinyl | Won't rot; performs well in wet climates | Low — occasional cleaning | Most budget-conscious new-construction and re-side projects |
| Fiberglass | Dimensionally stable, handles moisture and temperature swings well | Low | Higher-end builds, larger openings |
| Wood/wood-clad | Needs consistent exterior protection to resist moisture damage | High — regular finish maintenance | Homes prioritizing a traditional wood look, owners willing to maintain it |
| Aluminum | Prone to condensation and, near salt air, corrosion if not properly coated | Moderate | Limited use; we're selective about where we recommend it locally |
For most Mill Creek projects, vinyl or fiberglass frames make the most sense given the moisture load this area sees — not because wood or aluminum windows are bad products, but because they demand more upkeep to hold up to sustained damp weather and occasional salt-influenced air.
Glass and Energy Performance
Double-pane, low-E glass is the standard for this region and handles our mild-but-wet winters well without the added cost of triple-pane, which is usually more useful in colder, drier climates. What matters more locally is a tight, correctly sealed installation — a great window installed poorly will underperform a mid-grade window installed correctly.
Our Process, Start to Finish
- On-site assessment — we look at the existing wall assembly (or plans, for new builds), window count, sizes, and any accessibility considerations specific to the home.
- Product selection — we walk through frame material, glass package, and grille/style options based on your budget and the home's exposure.
- Prep and protection — landscaping, walkways, and interior spaces near work areas get protected before anything is removed.
- Opening and flashing — rough openings are checked, sill pans installed, and the flashing sequence completed before the window ever goes in.
- Window install — units are set, fastened, sealed, and integrated with the house wrap per manufacturer specification.
- Interior finish and walkthrough — trim, air-sealing, and a final walkthrough so you understand what was done and how to care for it.
Why a Crew That Already Works Mill Creek Matters
Correct window installation isn't neighborhood-specific — the physics of flashing and drainage are the same everywhere. What local familiarity buys you is fewer surprises: knowing what typical wall assemblies and siding types look like on homes built in this area and era, understanding how exposure and tree cover on a given lot affect moisture load, and being able to schedule around the wet stretches that are common here rather than fighting them mid-install. A crew that regularly works Snohomish-area homes has also usually already seen the common problem points — older flashing details, marginal sill conditions, sheathing that needs attention — and knows what to check for before it becomes a bigger repair.
There's also a simple accountability piece: a contractor based in and working this area routinely is easier to reach if a question comes up after the job than one that was passing through for a single project.
Common Mistakes We See — and Avoid
| Mistake | Consequence |
|---|---|
| Caulk used in place of proper flashing tape | Caulk degrades and cracks over time; it's not a substitute for a drainage-plane detail |
| Flashing applied out of shingle-lap order | Water gets directed into the wall instead of out of it |
| No sill pan or improperly sloped sill pan | Any water that gets past the window sits against the sheathing instead of draining out |
| Window not integrated with house wrap | Creates a gap in the drainage plane — a weak point exactly where water pressure is highest |
| Fasteners skipped or under-driven to save time | Reduces wind and structural performance, sometimes voids manufacturer warranty |
Get a Straightforward Estimate
If you're planning new-construction or re-side window work in Mill Creek, we're happy to walk the project with you, talk through material options honestly, and give you a clear, no-pressure estimate — use the form below to get started.