 Snohomish
 Building New in Maltby: What the Climate Actually Demands
Maltby sits in the rolling, tree-covered country between Snohomish and the Bothell/Woodinville corridor, and if you're framing a new home out here you already know the weather doesn't do you any favors during construction. Long stretches of driving rain, heavy morning dew off the tree line, and a moss season that can run eight or nine months out of the year mean a new-construction window opening is exposed to moisture almost from the day it's cut. Add in the salt-influenced air that rides inland off Puget Sound on a west wind, and every seam, flashing lap, and sealant bead around that opening is doing real work, not just cosmetic work.
New-construction windows aren't a retrofit product forced into an existing wall — they're installed as part of the building envelope itself, with a nailing fin that ties directly into the house wrap and flashing system before siding ever goes on. That's an advantage if it's done right, because you get one continuous drainage plane with no old caulk or old framing to work around. It's a liability if it's done wrong, because there's no siding to hide a bad flashing job — moisture just tracks straight into the wall cavity and you don't find out until there's a stain on the drywall a year or two later.
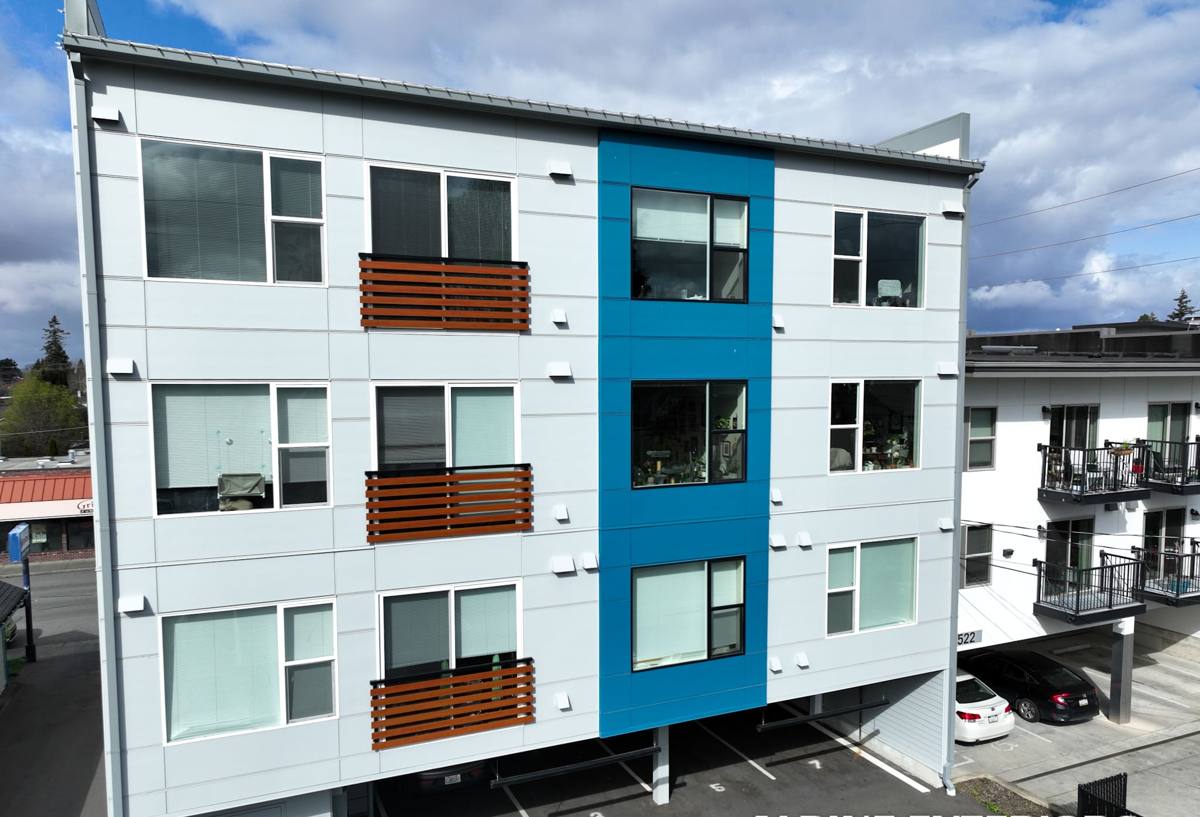
Why New-Construction Windows Are a Different Job Than a Replacement
Nail-Fin vs. Block-Frame Installation
Most new-construction windows in this region use a nail-fin (flange) frame that gets fastened directly to the sheathing, then integrated into the weather-resistive barrier before siding goes up. This is different from a pocket or block-frame replacement window, which gets set into an existing opening after the old unit is pulled. On a new build, we're not working around old materials — but we are the crew that determines whether the opening is actually watertight for the next 30-40 years, because everything gets covered up right after.
Sequencing With the Rest of the Envelope
Window installation on a new build has to happen in the right order relative to the house wrap, flashing tape, and siding trim. Install too early or out of sequence and you end up with laps running the wrong direction — which, on a wall that's going to see wind-driven rain for its entire life, is the single most common cause of hidden water intrusion in this climate.
What a Correct Installation Actually Involves
A window opening that's going to hold up in Snohomish-area weather needs a specific sequence, not just a unit set square and shimmed. We follow the same core steps on every new-construction opening:
- Sill pan flashing installed first, sloped to drain outward, so any water that gets past the window has somewhere to go besides the framing
- Weather-resistive barrier lapped correctly at the sides and head before the window ever goes in the opening
- Window set plumb, level, and square, with shims at the correct load points so the frame doesn't rack over time
- Nailing fin fastened per the manufacturer's schedule — not just "enough nails to hold it"
- Flashing tape applied in the correct shingle-lap order: sill, then jambs, then head, so every layer sheds water onto the one below it
- Head flashing or drip cap integrated above the unit before siding or trim closes it in
- Interior and exterior sealant joints backed properly, not just caulked over a gap
Skip or reorder any one of those steps and the window can look perfect for years while quietly letting moisture into the wall — which, given how much of the year this area spends wet, is not a small risk.
Frame Material: What Holds Up Around Here
New-construction window frames come in a handful of common materials, and each one behaves differently under the Pacific Northwest's mix of rain, damp, and occasional summer UV. We'll talk through the trade-offs with you rather than push one option, but here's the honest comparison we give every homeowner and builder we work with:
| Frame Material | Moisture Behavior | Maintenance | Typical Fit for Maltby Builds |
|---|---|---|---|
| Vinyl | Doesn't rot or corrode; performs well in damp climates | Low — occasional cleaning | Strong value option for most new builds |
| Fiberglass | Very stable in wet/dry cycling, minimal expansion or contraction | Low | Good upgrade for larger openings or higher-exposure walls |
| Wood-clad | Interior wood needs protection from any moisture that reaches it; exterior cladding shields the frame | Higher — interior finish upkeep | Chosen for interior appearance more than climate performance |
| Aluminum | Conducts cold and can condense in our damp winters unless thermally broken | Moderate | Less common on residential new builds here |
None of these is a bad product on its own — the failures we see almost always trace back to installation, not the window unit itself. That's why we spend more time talking about flashing sequence than brand names.
How We Work With Builders and Framers
On a new-construction job, we're rarely the only trade on site. We coordinate directly with the framer and, where applicable, the general contractor so window openings are installed at the right point in the build schedule — after the sheathing and house wrap are in place, before siding closes everything up. We check rough openings against the actual window sizes before install day, not after, since a Maltby jobsite with a tight weather window doesn't have room for a delayed reorder. We also document flashing details as we go, so if a home inspector or the builder wants to see the sequence, it's not a guessing game later.
What We Bring to the Table
Because we've worked new-construction openings throughout the Snohomish area, we know the inspection standards local jurisdictions typically look for and we build our flashing details to meet or exceed them, not just scrape by.
Mistakes We See on New Builds in This Area
A lot of window problems on new construction don't show up until year two or three, once the first full wet season has had time to work on a weak spot. The patterns we run into most often around Snohomish and Maltby:
- Flashing tape applied in the wrong lap order, so water gets funneled behind the barrier instead of over it
- No sill pan, or a flat sill pan with no slope to drain water back outside
- Nailing fins fastened inconsistently, leaving gaps where wind-driven rain can work its way in over time
- Siding trim installed tight against the window with no room for the assembly to shed water, trapping moisture instead
- Sealant used as a substitute for proper flashing rather than as a secondary backup
Every one of these is fixable if caught early, but on a new build the whole point is to not need a fix at all.
Why a Local Crew Matters for a Maltby Job
New-construction window work in Snohomish County isn't identical to the same job in a drier climate. A crew that only occasionally works out this way may not think twice about extending a build schedule through a wet stretch, or may use a flashing detail that's fine for a low-humidity region but marginal here. Working Maltby and the greater Snohomish area regularly means we've already seen how these openings perform through a full moss season and a full winter of driving rain — and we build to that reality from the first window, not after a callback.
It also means we're not learning the local permitting and inspection expectations on your job. We know what inspectors in this area typically want to see on a flashing detail, and we build openings that hold up to that scrutiny the first time.
Cost Factors on New-Construction Window Work
| Factor | Why It Matters |
|---|---|
| Number and size of openings | More openings and larger units mean more flashing detail work and labor time |
| Frame material chosen | Vinyl, fiberglass, and wood-clad carry different material costs |
| Wall exposure | Walls facing prevailing wind-driven rain often get extra flashing detail or drip cap treatment |
| Scheduling with other trades | Tight coordination with framing and siding crews can affect labor efficiency |
| Site access | Sloped or wooded Maltby-area lots can add time for material staging and setup |
We don't quote new-construction window work off a square-footage number alone — every opening, elevation, and exposure gets looked at, because that's what actually drives the price and the performance.
Get a Straight Answer on Your Maltby Build
If you're framing a new home in or around Maltby and want window installation done right the first time — flashed correctly, sequenced correctly, and built for what this area's weather actually does to a house — we're glad to walk the plans or the site with you. Fill out the form below for a free, no-pressure estimate.