 Snohomish
 Siding Repair in Everett: What Local Homes Are Up Against
Everett sits close enough to Puget Sound that salt-laden air, wind-driven rain, and a long, damp moss season are just part of owning a home here. Siding in this area doesn't fail because it's old — it fails because water found a way in and stayed. Whether your home has aging vinyl, cedar, LP SmartSide, or fiber cement that was installed without proper flashing, the pattern we see in Everett is the same: small entry points that turned into rot, bubbling paint, or soft trim board over a few wet winters.
Snohomish Siding repairs siding for homeowners throughout the Everett area, and we do it with the same standard we hold ourselves to on new installs: fix the actual cause, not just the visible symptom. That distinction matters more here than in drier climates, because a cosmetic patch over wet sheathing just buys you another year before the same spot fails again — usually worse.
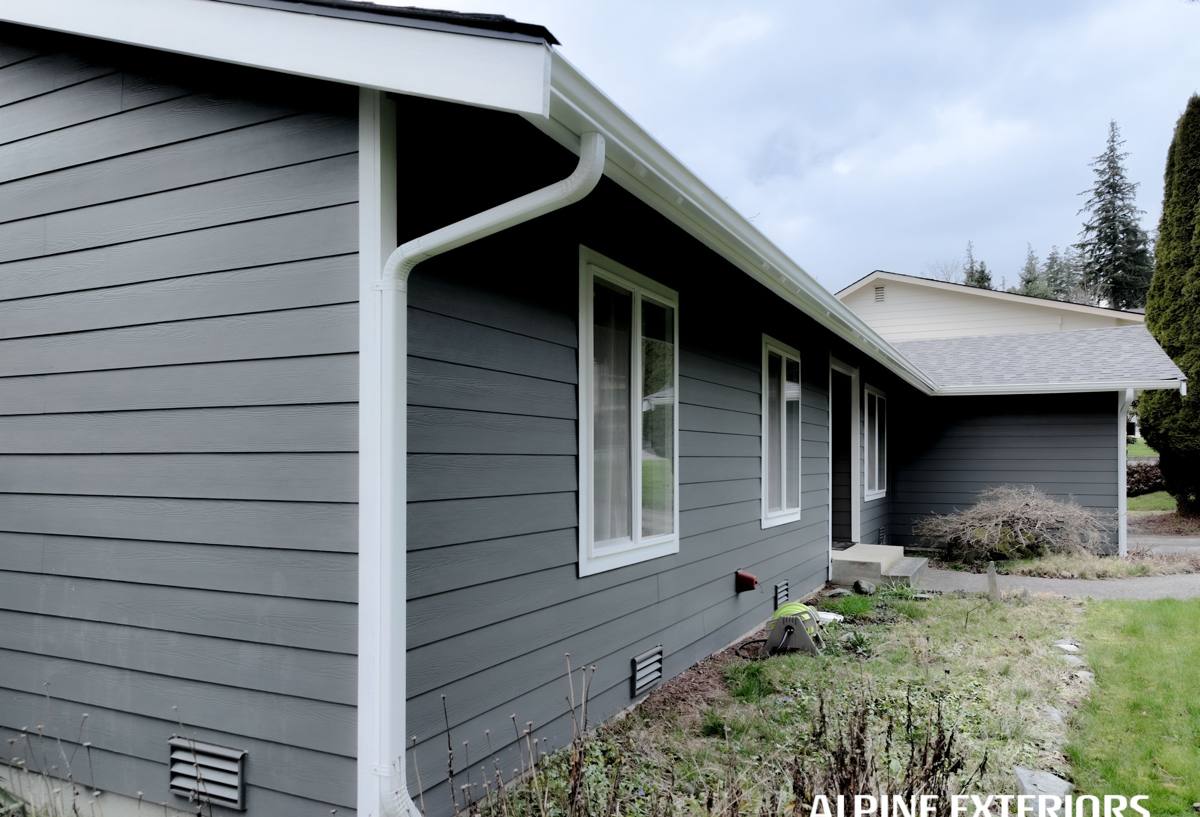
Why Everett's Climate Is Hard on Siding
A few conditions specific to this area drive most of the repair calls we get:
- Sustained wet season: Months of low-intensity rain keep siding surfaces damp far longer than a heavy but brief storm would, which gives moisture more time to migrate behind panels through any gap, crack, or failed caulk joint.
- Moss and algae growth: North-facing walls, shaded elevations, and anywhere siding stays damp for days at a time are prone to moss colonization. Moss holds moisture directly against the siding surface and, on wood-based products, accelerates rot underneath.
- Salt air influence: Proximity to Puget Sound means airborne salt can accelerate corrosion on fasteners, flashing, and metal trim — a factor a lot of inland siding guidance doesn't account for.
- Wind-driven rain: Storms off the water don't just fall straight down; they push rain sideways into laps, seams, and butt joints that were only ever designed to shed water moving downward.
None of this means Everett homes are doomed to constant repairs — it means the repair has to account for these conditions, not just replace what's broken with the same setup that failed the first time.
Common Siding Problems We Find in Everett Homes
Moisture Intrusion at Seams and Penetrations
The majority of repair calls trace back to water entry points: unsealed or failed caulk at butt joints, siding installed too close to grade, missing or improperly lapped flashing around windows and doors, and penetrations for hose bibs, vents, or light fixtures that were never properly flashed to begin with.
Rot and Soft Spots
Once water gets behind siding — especially wood-based products like cedar or engineered wood — it doesn't dry out quickly in this climate. By the time rot is visible from the outside, the sheathing or framing underneath is often already compromised, which turns what looks like a small patch job into a more involved repair.
Moss and Algae Staining
Green or black streaking, especially on shaded or north-facing walls, is common. On some products this is a cleaning issue; on others, particularly older wood or lower-grade composite siding, sustained moss growth is a sign that moisture is being held against the surface long-term.
Cracked, Warped, or Delaminating Panels
Freeze-thaw cycles, UV exposure, and repeated wet-dry swings cause different siding materials to fail in different ways — vinyl cracks and warps, engineered wood swells and delaminates at the edges, cement board can chip if it was never properly primed and painted on cut edges.
Failed Caulking and Trim Gaps
Caulk is a maintenance item, not a permanent seal. When it fails around trim, corner boards, or window casings, it's often the first visible warning sign before water damage sets in behind it.
What a Correct Siding Repair Actually Involves
A repair that's done right in this climate isn't just "replace the damaged board." Our process on Everett homes looks like this:
- Diagnose the source, not just the symptom. We trace visible damage back to its actual cause — flashing failure, grade issue, missing kick-out flashing, failed sealant — before touching the siding itself.
- Check what's behind the siding. Damaged panels come off far enough to inspect the house wrap, sheathing, and framing underneath. If there's rot or moisture damage in the substrate, that gets addressed before any new siding goes back on.
- Correct the water management, not just the cosmetic. If the original install lacked proper flashing, drainage plane, or clearance from grade, we fix that as part of the repair — otherwise the same failure just repeats.
- Match or upgrade the material. Where possible we match existing siding profile and color. Where the existing product is part of the problem — engineered wood or cedar with a moisture history, for example — we'll walk you through what it would take to convert that section, or the whole elevation, to James Hardie fiber cement.
- Reseal and finish to spec. Proper caulk joints, correctly lapped flashing, and touch-up paint or factory-matched ColorPlus finish so the repair blends in rather than standing out as an obvious patch.
Repair vs. Replacement: How We Help You Decide
Not every issue calls for full replacement, and we're not going to tell you it does. But there's a point where patching keeps costing money without solving the underlying problem. Here's roughly how we evaluate it:
| Situation | Typical Approach | Why |
|---|---|---|
| Isolated damage (one board, one impact spot, one failed seam) | Spot repair | Localized issue, sound material everywhere else |
| Recurring moisture at the same wall or elevation | Repair + flashing/drainage correction | Symptom keeps returning until the water path is fixed |
| Rot found behind more than one or two panels | Broader section replacement | Hidden damage is often more extensive than the visible symptom |
| Aging engineered wood or cedar with a history of moisture issues | Discuss full replacement with fiber cement | Underlying material is more moisture-sensitive; repairs are treating a chronic condition |
| Widespread cracking, fading, or failed caulk across multiple elevations | Full replacement | Piecemeal repair on end-of-life siding rarely pencils out long-term |
Why We Repair — and Rebuild — With James Hardie Fiber Cement
When a repair calls for new material, we use James Hardie fiber cement exclusively. It's not the only siding product on the market, but it's the one we're willing to put our name behind in this climate, for a few concrete reasons:
- It doesn't rot. Fiber cement is not a wood-based product, so the moisture-driven rot cycle that drives most of our Everett repair calls isn't a risk in the same way.
- Climate-engineered product lines. Hardie's HZ5 formulation is engineered for wetter, harsher climates like the Pacific Northwest, with additional resistance to moisture-related damage.
- Factory-applied ColorPlus finish. A baked-on finish holds up better against UV and moisture cycling than field-applied paint, and it means color-matched repairs down the road are more consistent.
- Non-combustible. An added layer of protection that wood-based and some engineered products can't offer.
- Strong transferable warranty. Backed by a manufacturer warranty when installed to spec, which matters if you sell the home before the siding's service life is up.
We don't install LP SmartSide, vinyl, Cemplank, Allura, or primed wood siding — not because those products have no legitimate use, but because after years of repair calls tracing back to moisture-sensitive materials, we standardized on the one product line we've found holds up best against this specific climate.
Our Repair Process, Start to Finish
- On-site inspection. We look at the damage, the surrounding siding, and — where accessible — what's happening behind it.
- Honest diagnosis. You get a clear explanation of what's causing the problem, not just what's visibly broken.
- Written scope and estimate. What's being repaired, what material is used, and why.
- Repair work. Damaged material removed, substrate checked and corrected if needed, proper flashing and drainage restored, new material installed and finished to match.
- Final walkthrough. We show you what was done and why, so you know exactly what you're covered for going forward.
What to Check Before You Call a Siding Repair Contractor
- Look for soft spots by pressing gently on siding near ground level, under windows, and around any wall penetrations.
- Check for staining, streaking, or dark patches, especially on shaded or north-facing walls.
- Look at caulk joints around trim and windows — cracking, gaps, or missing sections are early warning signs.
- Note any areas where siding sits close to soil, mulch beds, or a deck surface, since limited clearance is a common moisture entry point.
- Check attic or crawlspace areas near exterior walls for musty odors or visible water staining, which can indicate the damage extends further than what's visible outside.
Why Hire a Crew That Already Works in Everett
Siding repair isn't uniform across regions. A crew used to working in a dry climate may not think twice about flashing details or drainage clearance that are non-negotiable here. Working repair jobs throughout Everett and the surrounding Snohomish County area means we're used to diagnosing damage caused by this specific combination of salt air, sustained rain, and moss growth — and we build the repair to hold up against those same conditions going forward, not just to look fixed on the day we leave.
If you're noticing soft spots, staining, or recurring moisture around your siding, we're happy to take a look. Reach out for a free, no-pressure estimate — we'll tell you honestly what we find and what it would take to fix it right.