 Snohomish
 New-Construction Windows vs. Replacement Windows: Why the Job Is Different
New-construction window installation is not a smaller version of a replacement job — it's a different trade skill entirely. On a replacement, the window goes into an opening that's already framed, flashed, and finished on both sides; the work is about matching an existing hole cleanly. On new construction, the window is going into a bare rough opening before the house has any weather protection built up around it. That means the person setting the window is also responsible for how the opening interacts with the house wrap, the flashing, the siding plane, and the interior finish that will go on months later. Get that sequence wrong at framing stage, and it's often hidden behind drywall and siding by the time anyone notices — usually as a stain, a soft spot, or a draft years down the road.
We treat new-construction window work as part of the building envelope, not a standalone task. That's the same mindset we bring to siding, because the two systems have to work together — the window flashing and the siding water management plan are one continuous system, not two separate trades that happen to meet at the same opening.
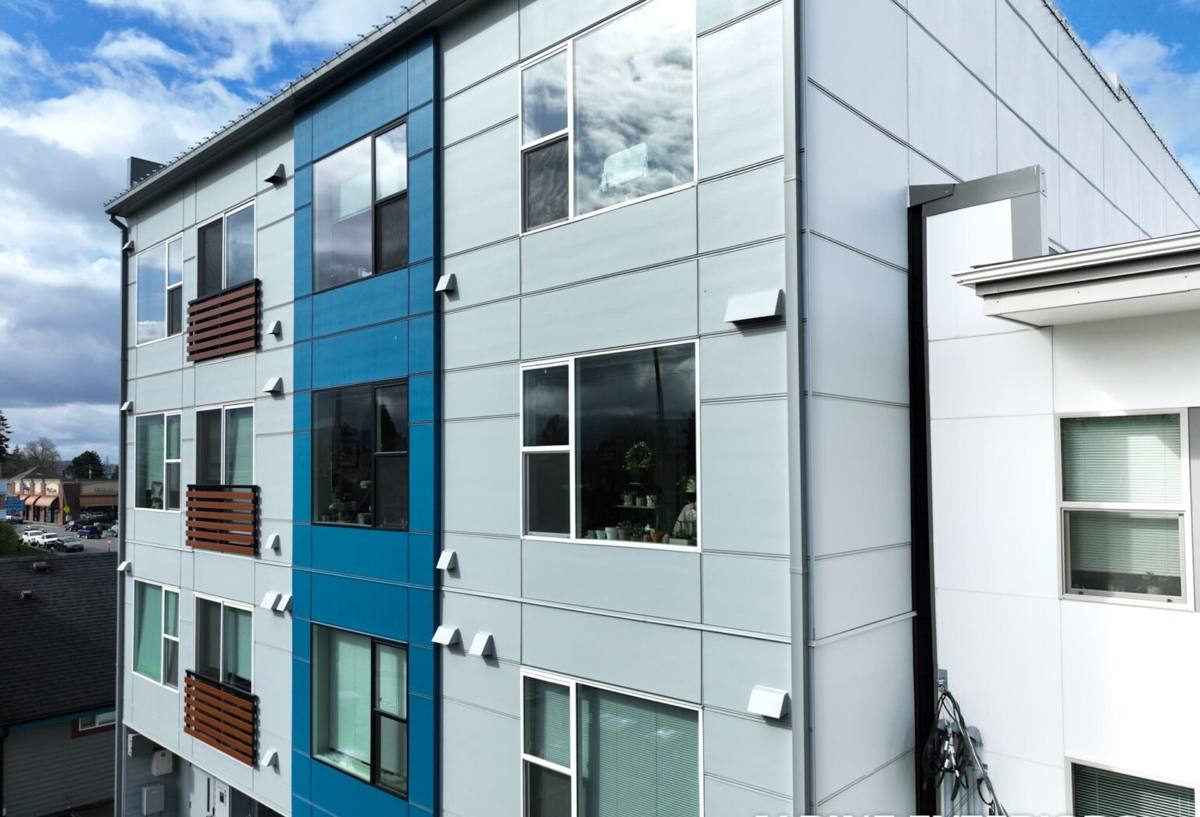
What Edmonds' Climate Actually Does to a Window Opening
Edmonds sits right on Puget Sound, which means homes here deal with a combination most inland builders don't have to think about as much: salt-laden air off the water, wind-driven rain that comes in sideways instead of straight down, and long stretches of the year where surfaces stay damp and shaded long enough to grow moss. None of these are dramatic on their own, but together they're hard on a window opening that wasn't detailed correctly.
- Salt air accelerates corrosion on exposed fasteners, hinges, and lesser-grade hardware — cheap screws and unprotected metal flashing show it first.
- Driving rain off the Sound pushes water sideways into wall assemblies, which is exactly the condition a proper sill pan and flashing sequence is designed to handle. Face-sealed or shortcut installs that might survive a drier climate don't hold up here.
- A long moss and mildew season — wet, shaded months where organic growth gets a foothold on any surface that stays damp — means trim, sills, and cladding around a window need to shed water fast and dry out between storms, not trap it.
Snohomish sees the same weather system, just with more tree cover and shade in a lot of neighborhoods, which extends how long surfaces stay wet after a storm. A window install that works in a drier region can still leak or rot in a Puget Sound house within a few winters if the flashing details were skipped.
The Anatomy of a Correct New-Construction Window Install
Rough Opening & Sill Pan
Everything starts with the rough opening being square, plumb, and the right size for the window unit — not "close enough." Before the window ever goes in, the sill gets a sloped pan flashing so that any water that does get past the window has a way out instead of a place to sit. This is the single detail we see skipped most often on rushed builds, and it's the one most responsible for slow, hidden rot at the sill years later.
Flashing Sequence
Flashing has to be layered in the correct order — sill, then window, then jamb flashing, then head flashing — each piece lapping over the one below it, so water is always directed outward and down, never trapped behind a layer. This "shingle-style" lapping is what makes the assembly work with gravity instead of against it. It has to tie into the house wrap correctly at every edge, with no gaps at the corners where water likes to find its way in.
Fastening & Fin Sealing
Nailing fin windows need the fin fastened per the manufacturer's schedule and sealed with a compatible sealant — not whatever caulk happens to be on the truck. Mismatched sealants and flashing tapes can fail to bond or react poorly with each other over time, which defeats the whole system even if the layout was correct.
Interior and Exterior Trim Coordination
The window has to be set at the right depth and shimmed correctly so both the interior trim crew and the exterior siding crew have a clean, consistent reveal to work with later. A window set slightly off can force interior trim to fight the wall or leave the siding crew improvising a J-channel or trim detail that never looks quite right.
Window Material & Frame Comparison
New-construction homes in this area typically use one of three frame materials. Each has real trade-offs worth understanding before you commit, especially given the moisture and salt exposure this region sees.
| Frame Material | Moisture & Salt Air Performance | Maintenance | Typical Fit |
|---|---|---|---|
| Vinyl | Won't corrode or rot; performs well in damp, salty conditions | Low — no painting, occasional cleaning | Most budget and mid-range new builds |
| Fiberglass | Very stable in temperature swings and moisture; holds paint well if color-matching trim | Low to moderate | Higher-end new construction, larger openings |
| Wood-clad | Attractive interior wood look, but the exterior clad layer and any exposed wood need careful detailing to avoid moisture intrusion at joints | Higher — exterior seals and finish need periodic checking | Homeowners prioritizing interior aesthetics who accept more upkeep |
We'll install what you or your builder specify, but our honest read for this climate: vinyl and fiberglass frames tolerate salt air and sustained damp weather with the least fuss. Wood-clad units can look great, but the exposed joints and end grain need extra attention during install and extra attention from the homeowner afterward — that's a maintenance conversation worth having up front, not a surprise later.
Our Process, Start to Finish
Plan Review & Product Selection
We start by reviewing the window schedule and rough opening sizes against the actual framing, and flag any mismatches before install day instead of discovering them with a window in hand. If you haven't finalized product selection yet, we'll walk through frame material, glass packages, and performance ratings suited to Puget Sound exposure.
Coordinating With Your Builder
On a new build, timing matters. Windows need to go in after the house wrap is up but before siding starts, and the sequence has to be coordinated with the framing and siding crews so nobody's waiting on anybody. We work directly with your general contractor's schedule rather than treating the window install as an isolated task.
Installation Day
Each opening gets sill pan flashing, the window set level and plumb, fastened to the manufacturer's schedule, and flashed in the correct shingle-lap sequence tying into the house wrap. We don't shortcut this even when a schedule is tight — a fast install that fails in five years costs everyone more than a careful one.
Final Inspection & Water Test
Before we call an opening done, we check operation, seal continuity, and flashing laps on every window. On jobs where it's warranted, we'll spot-check with a water test to confirm the assembly sheds water the way it's supposed to before the siding closes it in for good.
Common Problems We See in New Builds
Most of the window-related issues we get called to fix in newer homes trace back to a handful of repeatable mistakes at the framing stage. Here's what we check for on every job, including ones we didn't originally install:
- Missing or improperly sloped sill pan flashing, leaving no path for incidental water to exit
- Flashing layers installed out of order, so water gets directed behind the house wrap instead of over it
- House wrap cut and taped sloppily at the corners of the opening, leaving gaps
- Nailing fins fastened with the wrong pattern or spacing, or sealed with an incompatible caulk
- Windows set out of square or at inconsistent depth, creating problems for trim and siding crews later
- No documentation of what flashing products and sealants were used, making warranty claims harder down the road
Why a Crew That Already Works in Edmonds Makes a Difference
Anyone can hang a window. Getting the water management right for a Puget Sound waterfront community takes knowing what this specific climate does to a building envelope over time — and having actually dealt with the callbacks when someone else's shortcut failed. We've done siding and window flashing work across the greater Snohomish County area, including Edmonds, and the failure patterns we see are consistent: skipped sill pans, rushed flashing sequences, and mismatched sealants that gave up after a few wet winters.
We also understand how new-construction schedules actually run — subcontractors stacked tight, inspections on a timeline, and a general contractor who needs the window trade to show up when they say they will and not create a bottleneck for framing or siding crews behind them. Local experience means fewer surprises for your builder and a better-built opening for you.
If you're planning new construction or an addition in Edmonds and want windows installed correctly the first time, we're happy to look at your plans and give you a straightforward, no-pressure estimate — just fill out the form below.